In this tutorial I’ll guide you how to install and configure a mail system(Dovecot and Postfix) on Ubuntu 16.04 with ViMbAdmin as front-end for managing your domains.
At the end of this process, you’ll have:
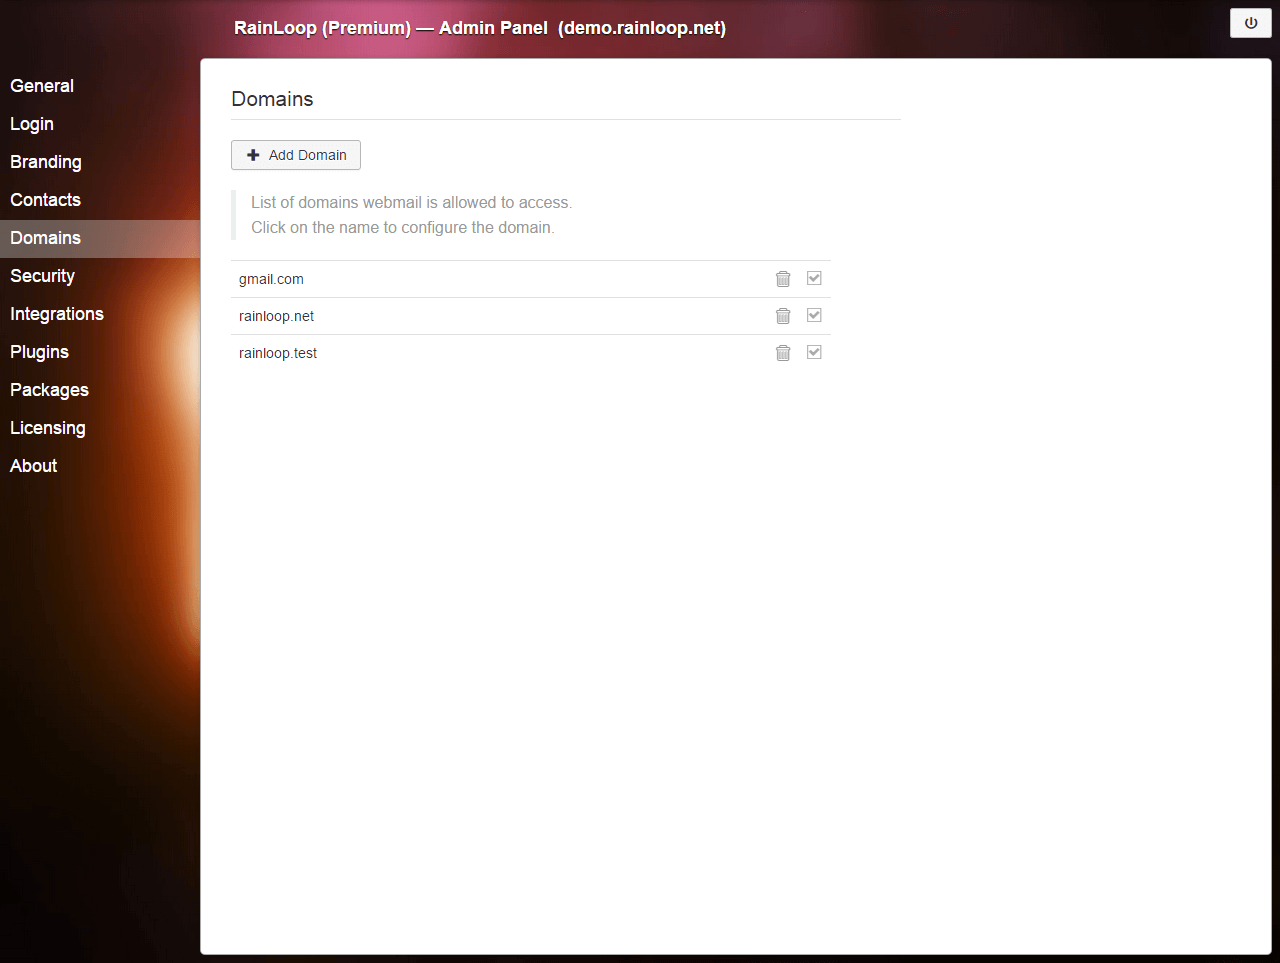
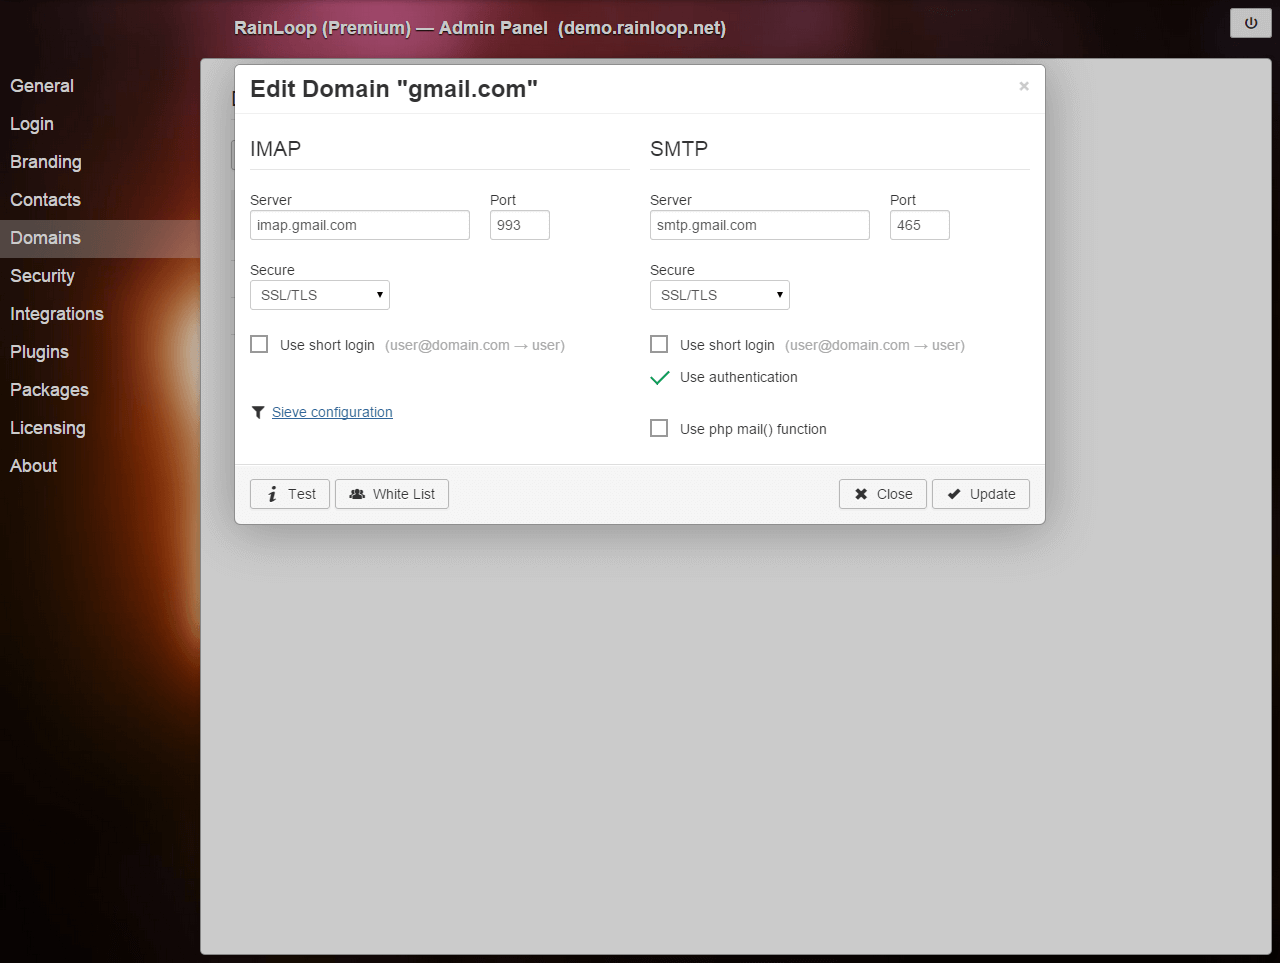
- ViMbAdmin installed and managing your virtual domains, mailboxes and aliases;
- Postfix installed and configured for: Email delivery / acceptance to your virtual mailboxes and aliases;
- TLS available on port 25;
- SSL on port 465;
- Email relay to authenticated users only.
- Dovecot installed and configured for: IMAP over SSL;
- POP3 over SSL;
- ManageSieve with TLS support;
- LMTP for local mail delivery to your virtual mailboxes.
Preparation:
Install required packages and dependancies:
apt-get install --yes php7.0-cgi php7.0-mcrypt php-memcache php7.0-mysql \
php7.0-json libapache2-mod-php7.0 php-gettext memcached git mysql-server \
subversion
PHP composer can be installed via:
php -r "readfile('https://getcomposer.org/installer');" | php
mv composer.phar /usr/local/bin/composer
Set your timezone in /etc/php/7.0/apache2/php.ini and /etc/php/7.0/cli/php.ini , such as:
date.timezone = "UTC"
I. ViMbAdmin
export INSTALL_PATH=/srv/vimbadmin
git clone https://github.com/opensolutions/ViMbAdmin.git $INSTALL_PATH
cd $INSTALL_PATH
composer install --dev
If you plan to run under Apache / other web server, ensure you set the ownership on the var/ directory appropriately:
chown -R www-data: $INSTALL_PATH/var
Database Setup
Log into your MySQL (or other) database and create a new user and database:
CREATE DATABASE `vimbadmin`;
GRANT ALL ON `vimbadmin`.* TO `vimbadmin`@`localhost` IDENTIFIED BY 'password';
FLUSH PRIVILEGES;
Configuration
cp $INSTALL_PATH/application/configs/application.ini.dist $INSTALL_PATH/application/configs/application.ini
You now need to set your database parameters from above in this file. You’ll find these near the top and here is an example:
resources.doctrine2.connection.options.driver = 'pdo_mysql'
resources.doctrine2.connection.options.dbname = 'vimbadmin'
resources.doctrine2.connection.options.user = 'vimbadmin'
resources.doctrine2.connection.options.password = 'password'
resources.doctrine2.connection.options.host = 'localhost'
cp $INSTALL_PATH/public/.htaccess.dist $INSTALL_PATH/public/.htaccess
Database Creation
cd $INSTALL_PATH
./bin/doctrine2-cli.php orm:schema-tool:create
If all goes well, you should see:
$ ./bin/doctrine2-cli.php orm:schema-tool:create
ATTENTION: This operation should not be executed in a production environment.

Creating database schema...
Database schema created successfully!
Apache2
You need to tell Apache where to find ViMbAdmin and what URL it should be served under. In this example, we’re going to serve it from /vimbadmin (e.g. www.example.com/vimbadmin). As such, we create an Apache configuration block as follows on our web server:
Alias /vimbadmin /srv/vimbadmin/public

<Directory /srv/vimbadmin/public>
Options FollowSymLinks
AllowOverride FileInfo

# For Apache <= 2.3:
Order allow,deny
allow from all

# For Apache >= 2.4
# Require all granted
</Directory>
Ensure mod_rewrite is enabled:
a2enmod rewrite
Restart Apache and you can now browse to your new installation.
Welcome to Your New ViMbAdmin Installation
You should now be greeted with a page welcoming you. If you didn’t set the security salt above, then the installer will provide random strings for these. Place this in vimbadmin/application/configs/application.ini as instructed before continuing. If you did set it, then enter it in the Security Salt input box.
This is a security step to ensure that only the person performing the installation can create a super administrator.
Now enter a username (which must be an email address) and a password.
Once you click save, you’re done! Log in and work away.
II.Dovecot
Dovecot will provide support for:
- IMAP mail access;
- POP3 mail access;
- the manage sieved service;
- the local delivery protocol (LMTP) – Postfix passes emails it accepts for local delivery off to this process to be stored on the filesystem.
Install the Dovecot related packages via:
apt-get install --yes dovecot-core dovecot-imapd dovecot-managesieved \
dovecot-pop3d dovecot-sieve dovecot-mysql \
dovecot-lmtpd mail-stack-delivery
We will store all emails under /srv/vmail and we need to create a user with the appropriate uid and gid used in this example:
groupadd -g 2000 vmail
useradd -c 'Virtual Mailboxes' -d /srv/vmail -g 2000 -u 2000 -s /usr/sbin/nologin -m vmail
Configuring Dovecot
Remove (clear) an unnecessary file which will interfere with our configuration:
echo "" >/etc/dovecot/conf.d/99-mail-stack-delivery.conf
Go to /etc/dovecot/conf.d and replace the contents of these files:
*don’t forget to replace mail.example.com with your domain
dovecot-10-auth.conf
auth_mechanisms = plain login
!include auth-sql.conf.ext
Raw
dovecot-10-mail.conf
mail_location = maildir:/srv/vmail/%d/%n

namespace inbox {
inbox = yes
}

mail_uid = 2000
mail_gid = 2000

mail_privileged_group = vmail

first_valid_uid = 2000
last_valid_uid = 2000

maildir_copy_with_hardlinks = yes
dovecot-10-master.conf
service imap-login {
inet_listener imap {
port = 143
}
inet_listener imaps {
port = 993
ssl = yes
}

service_count = 0
}

service pop3-login {
inet_listener pop3 {
port = 110
}
inet_listener pop3s {
port = 995
ssl = yes
}
}

service lmtp {
unix_listener /var/spool/postfix/private/dovecot-lmtp {
group = postfix
mode = 0666
user = postfix
}
}

service imap {
}

service pop3 {
}

service auth {
unix_listener auth-userdb {
mode = 0666
user = vmail
group = vmail
}

# Postfix smtp-auth
unix_listener /var/spool/postfix/private/auth {
mode = 0660
user = postfix
group = postfix
}
}

service auth-worker {
}

service dict {
unix_listener dict {
}
}
dovecot-10-ssl.conf
ssl = yes

ssl_cert = </etc/postfix/ssl/mail.example.com.pem
ssl_key = </etc/postfix/ssl/mail.example.com.pem

ssl_require_crl = no
dovecot-15-lda.conf
postmaster_address = postmaster@example.com
hostname = mail.example.com
quota_full_tempfail = yes
recipient_delimiter = +
lda_mailbox_autocreate = yes
lda_mailbox_autosubscribe = yes

protocol lda {
mail_plugins = $mail_plugins sieve quota
}
dovecot-20-imap.conf
protocol imap {
mail_plugins = $mail_plugins quota imap_quota
}
dovecot-20-lmtp.conf
protocol lmtp {
postmaster_address = postmaster@example.com
mail_plugins = quota sieve
}
dovecot-20-managesieve.conf
service managesieve-login {
inet_listener sieve {
port = 4190
}

service_count = 1
}

service managesieve {
}

protocol sieve {
}
dovecot-20-pop3.conf
protocol pop3 {
mail_plugins = $mail_plugins quota
}
dovecot-auth-sql.conf.ext
passdb {
driver = sql
args = /etc/dovecot/dovecot-sql.conf.ext
}

userdb {
driver = prefetch
}

userdb {
driver = sql
args = /etc/dovecot/dovecot-sql.conf.ext
}
dovecot-sql.conf.ext
driver = mysql

connect = host=localhost user=vimbadmin password=password dbname=vimbadmin
default_pass_scheme = MD5

password_query = SELECT username as user, password as password, \
homedir AS userdb_home, maildir AS userdb_mail, \
concat('*:bytes=', quota) as userdb_quota_rule, uid AS userdb_uid, gid AS userdb_gid \
FROM mailbox \
WHERE username = '%Lu' AND active = '1' \
AND ( access_restriction = 'ALL' OR LOCATE( '%Us', access_restriction ) > 0 )

user_query = SELECT homedir AS home, maildir AS mail, \
concat('*:bytes=', quota) as quota_rule, uid, gid \
FROM mailbox WHERE username = '%u'
/etc/dovecot/dovecot.conf
!include_try /usr/share/dovecot/protocols.d/*.protocol
!include conf.d/*.conf
!include_try local.conf
III.Postfix
We will configure Postfix for the following purposes here:
- accept mail for the domains / mailboxes / aliases configured in ViMbAdmin;
- hand these messages off to Dovecot’s deliver – a local delivery agent;
- allow mailboxes configured in ViMbAdmin to log into Postfix to relay mail.
First, we need to install the following packages:
apt-get install postfix postfix-mysql
When you are asked to choose a general type of mail configuration, choose No configuration. This should hopefully make these instructions reasonably generic.
Configuring Postfix
Replace /etc/postfix/main.cf with:
*don’t forget to replace mail.example.com with your domain
# Sample Postfix configuration for use with ViMbAdmin :: Virtual Mailbox Administration
 #
 # See: https://github.com/opensolutions/ViMbAdmin
 #
 # By Barry O'Donovan - 2014-02 - http://www.barryodonovan.com/

# See /usr/share/postfix/main.cf.dist for a commented, more complete version

smtpd_banner = $myhostname ESMTP $mail_name (Ubuntu)
 biff = no

# appending .domain is the MUA's job.
 append_dot_mydomain = no

# Uncomment the next line to generate "delayed mail" warnings
 delay_warning_time = 4h

readme_directory = no

# TLS parameters
 smtpd_tls_cert_file = /etc/postfix/ssl/mail.example.com.pem
 smtpd_tls_key_file = /etc/postfix/ssl/mail.example.com.pem
 smtpd_use_tls = yes
 smtpd_tls_session_cache_database = btree:/var/lib/postfix/smtpd_scache
 smtp_tls_session_cache_database = btree:/var/lib/postfix/smtp_scache
 smtpd_tls_loglevel = 1
 smtpd_tls_auth_only = yes
 smtpd_tls_dh1024_param_file = /etc/postfix/dh_1024.pem
 smtpd_tls_dh512_param_file = /etc/postfix/dh_512.pem
 smtpd_tls_eecdh_grade = strong

myhostname = mail.example.com

myorigin = mail.example.com

mydestination = localhost localhost.$mydomain

mynetworks = 127.0.0.0/8 [::ffff:127.0.0.0]/104 [::1]/128

mailbox_size_limit = 0
 recipient_delimiter = +

inet_protocols = all
 inet_interfaces = all

notify_classes = resource, software
 error_notice_recipient = admin@example.com

# relay_domains =
 # transport_maps = hash:/etc/postfix/transport
 virtual_alias_maps = mysql:/etc/postfix/mysql/virtual_alias_maps.cf
 virtual_gid_maps = static:2000
 virtual_mailbox_base = /srv/vmail
 virtual_mailbox_domains = mysql:/etc/postfix/mysql/virtual_domains_maps.cf
 virtual_mailbox_maps = mysql:/etc/postfix/mysql/virtual_mailbox_maps.cf
 virtual_minimum_uid = 2000
 virtual_uid_maps = static:2000
 #dovecot_destination_recipient_limit = 1
 virtual_transport = lmtp:unix:private/dovecot-lmtp

smtpd_sasl_auth_enable = yes
 smtpd_sasl_type = dovecot
 smtpd_sasl_path = private/auth
 broken_sasl_auth_clients = yes
 message_size_limit = 40000000
 home_mailbox = Maildir/
 smtpd_sasl_authenticated_header = yes
 smtpd_sasl_security_options = noanonymous
 smtpd_sasl_local_domain = $myhostname
 #mailbox_command = /usr/lib/dovecot/deliver -c /etc/dovecot/dovecot.conf -m "${EXTENSION}"

smtp_use_tls = yes
 smtpd_tls_received_header = yes
 smtpd_tls_mandatory_protocols = SSLv3, TLSv1
 smtpd_tls_mandatory_ciphers = medium
 tls_random_source = dev:/dev/urandom
 smtpd_recipient_restrictions =
  reject_unknown_sender_domain,
  reject_unknown_recipient_domain,
  reject_unauth_pipelining,
  permit_mynetworks,
  permit_sasl_authenticated,
  reject_unauth_destination
 # reject_non_fqdn_hostname,
 # reject_invalid_hostname

#smtpd_helo_restrictions =
 # check_helo_access hash:/etc/postfix/ehlo_whitelist,
 # reject_non_fqdn_hostname,
 # reject_invalid_hostname
 # check_helo_access hash:/etc/postfix/ehlo_whitelist,
 # reject_unknown_helo_hostname

smtpd_helo_required = yes

smtpd_sender_restrictions =
  reject_unknown_sender_domain
 # check_sender_access hash:/etc/postfix/sender_access,

smtpd_data_restrictions =
  reject_unauth_pipelining

smtpd_client_restrictions =
  permit_sasl_authenticated
 # check_client_access hash:/etc/postfix/client_access,
 # reject_rbl_client zen.spamhaus.org
You need to edit /etc/postfix/master.conf to enable smtps (SMTP over SSL on port 465′ TLS is supported over port 25 as part of our configuration):
smtps inet n - - - - smtpd
  -o smtpd_tls_wrappermode=yes
  -o smtpd_sasl_auth_enable=yes
  -o smtpd_sasl_type=dovecot
  -o smtpd_sasl_path=private/auth
  -o smtpd_client_restrictions=permit_sasl_authenticated,reject
  -o milter_macro_daemon_name=ORIGINATING
ViMbAdmin Integration
Postfix integrates with our ViMbAdmin database via settings in the above Gist and by creating the following files form the samples provided (all under /etc/postfix/mysql):
- virtual_alias_maps.cf
- virtual_domains_maps.cf
- virtual_mailbox_maps.cf
- virtual_transport_maps.cf
virtual_alias_maps.cf
user = vimbadmin
 password = password
 hosts = 127.0.0.1
 dbname = vimbadmin
 query = SELECT goto FROM alias WHERE address = '%s' AND active = '1'
virtual_domains_maps.cf
 user = vimbadmin
 password = password
 hosts = 127.0.0.1
 dbname = vimbadmin
 query = SELECT domain FROM domain WHERE domain = '%s' AND backupmx = '0' AND active = '1'
virtual_mailbox_maps.cf
 user = vimbadmin
 password = password
 hosts = 127.0.0.1
 dbname = vimbadmin
 table = mailbox
 select_field = maildir
 where_field = username
virtual_transport_maps.cf
 user = vimbadmin
 password = password
 hosts = 127.0.0.1
 dbname = vimbadmin
 table = domain
 select_field = transport
 where_field = domain
 additional_conditions = and backupmx = '0' and active = '1'
Postfix with SSL
The above referenced Gist includes support for TLS/SSL (encrypted) support with Postfix. We can create a self-signed certificate for testing as follows.
When asked to enter Common Name (eg, YOUR name) []:, ensure you enter the fully qualified name of your mail server:
*don’t forget to replace mail.example.com with your domain
mkdir -p /etc/postfix/ssl
 openssl req -new -x509 -days 3650 -nodes \
  -out /etc/postfix/ssl/mail.example.com.pem \
  -keyout /etc/postfix/ssl/mail.example.com.pem
 chmod 0600 /etc/postfix/ssl/mail.example.com.pem
We also need to create the Diffe Hellman parameters:
for len in 512 1024; do
  openssl genpkey -genparam -algorithm DH -out /etc/postfix/dh_${len}.pem \
  -pkeyopt dh_paramgen_prime_len:${len}
 done
Enjoy !!!
source: https://github.com/opensolutions/ViMbAdmin/wiki